
Among my gardening friends it seems that everyone likes hellebores.
.
If you have any comments, observations, or questions about what you read here, remember you can always Contact Me
All content included on this site such as text, graphics and images is protected by U.S and international copyright law.
The compilation of all content on this site is the exclusive property of the site copyright holder.
Hellebore Planting and Care
Sunday, 7 April 2019
Among my gardening friends it seems that everyone likes hellebores.
What's not to like? They're easy to care for and thrive in the shade. Member of the Ranunculaceae, hellebores have no browsing issues whether you garden with deer, rabbits, or woodchucks. About the only thing hellebore do not appreciate is a constantly soggy wet soil.
Here are some planting tips and easy care suggestions.

You don't need the very biggest hellebore available for purchase. By the same token
you don't need the smallest size. Unless, that is, you have a large area to fill up at once.
Spring is a great time to plant hellebores. Prepare the planting site. Dig to loosen the soil. The planting hole should be somewhat deeper than the pot, and wider. Add some compost or other organic matter, and mix it well with the soil. Lightly tamp the soil in the bottom of the hole - you don't want it so fluffy that it will settle, making the hellebore too deep. You also do not want to pack the soil so the roots will have a difficult time spreading out. The crown of the hellebore - where the roots go down and the stems go up - should be just below the level of the ground.

Gently tip the hellebore out of its pot and look at the root ball. Oops!
This one is rather pot bound. The roots go round and round. Not good.

Gently tease the roots loose so they can spread out into the soil.
Set the hellebore in its planting hole. Back fill part way. Water. Let the water drain and finish filling the hole. Mulch with shredded leaves, aged wood chips, or something similar. If rainfall is scantly, water periodically, especially the first year after planting.
Once hellebores are well established, you may want to provide some spring cleanup.
This is most often necessary for Lenten rose hellebores, Helleborus ×orientalis.

Their leaves look can look very shabby at winter's end, brown at the edges, or more.

You need a pair of scissors or small clippers, measuring spoons, 5-10-5 granular fertilizer.
And, because my garden soil is somewhat acid, I include hardwood ashes from our stove.

Use a small hand rake to gently clear away last year's fallen leaves and
expose the soil. The new flowers are just beginning to appear. This time,
it's mid-February. Every spring is different, depending on the winter.
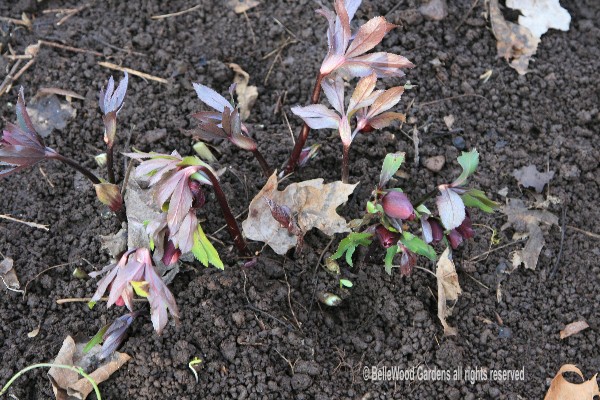
Trim away all the old leaves as close to the ground as possible. Looks
better already, doesn't it. Go slow, don't rush, else you may cut flowers.

Scatter a measured amount of fertilizer in a ring away from the crown,
then carefully cultivate it into the soil. Avoid getting it on the new growth.
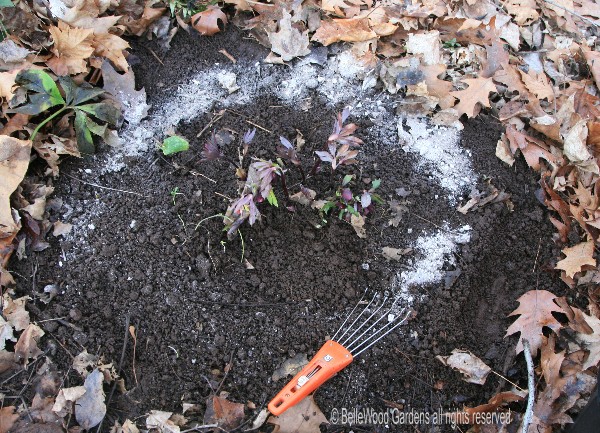
If wood ashes are to be added, scatter them in a wider ring so they do not
mix with the fertilizer. Again, gently cultivate the wood ashes into the soil.

Mulch with shredded leaves. Done. Move on to the next hellebore. I try
to give my hellebores a cleanup and fertilization every other year. If
it was a harsh winter with little snow that really damaged the leaves
I do try to trim them away. But only fertilize every other year or so.

And my reward for this simple maintenance? Beautiful flowers on my hellebores,
easy care plants that thrive in my shady garden, delighting me with spring flowers.
Back to Top
Back to April 2019
Back to the main Diary Page